Wednesday, March 30, 2011

Ambulance Cake

For the last year, I have constantly heard from A's mom how much she was looking forward to retiring. Her enthusiasm for retirement was matched by her determination to NOT have a party.

We received the printed invitations a month before the party.

I took a cake decorating class this month so I asked if she would like me to bring her a cake. She had enough on her plate with organizing sandwiches, drinks, snacks, mass in the house and following evening at the pub, so she said she would let me take care of that. I talked about the cake with A and he thought that as she worked on the ambulance service for years that it would be a good idea for a cake. A little ambitious, but it was worth a go.

First step was doing a bit of research to find out what they actually looked like. The ambulance A's mom worked on is different than the fleet in use in Ireland today so it took a little digging to find the right model. I found a link here and worked off that. Take a look at that link before going down to see what I did.

Did you go look at the link?

Really?

Cause you won't know how awesome my representation is unless you can compare it to the real thing.

Done?

Ok.

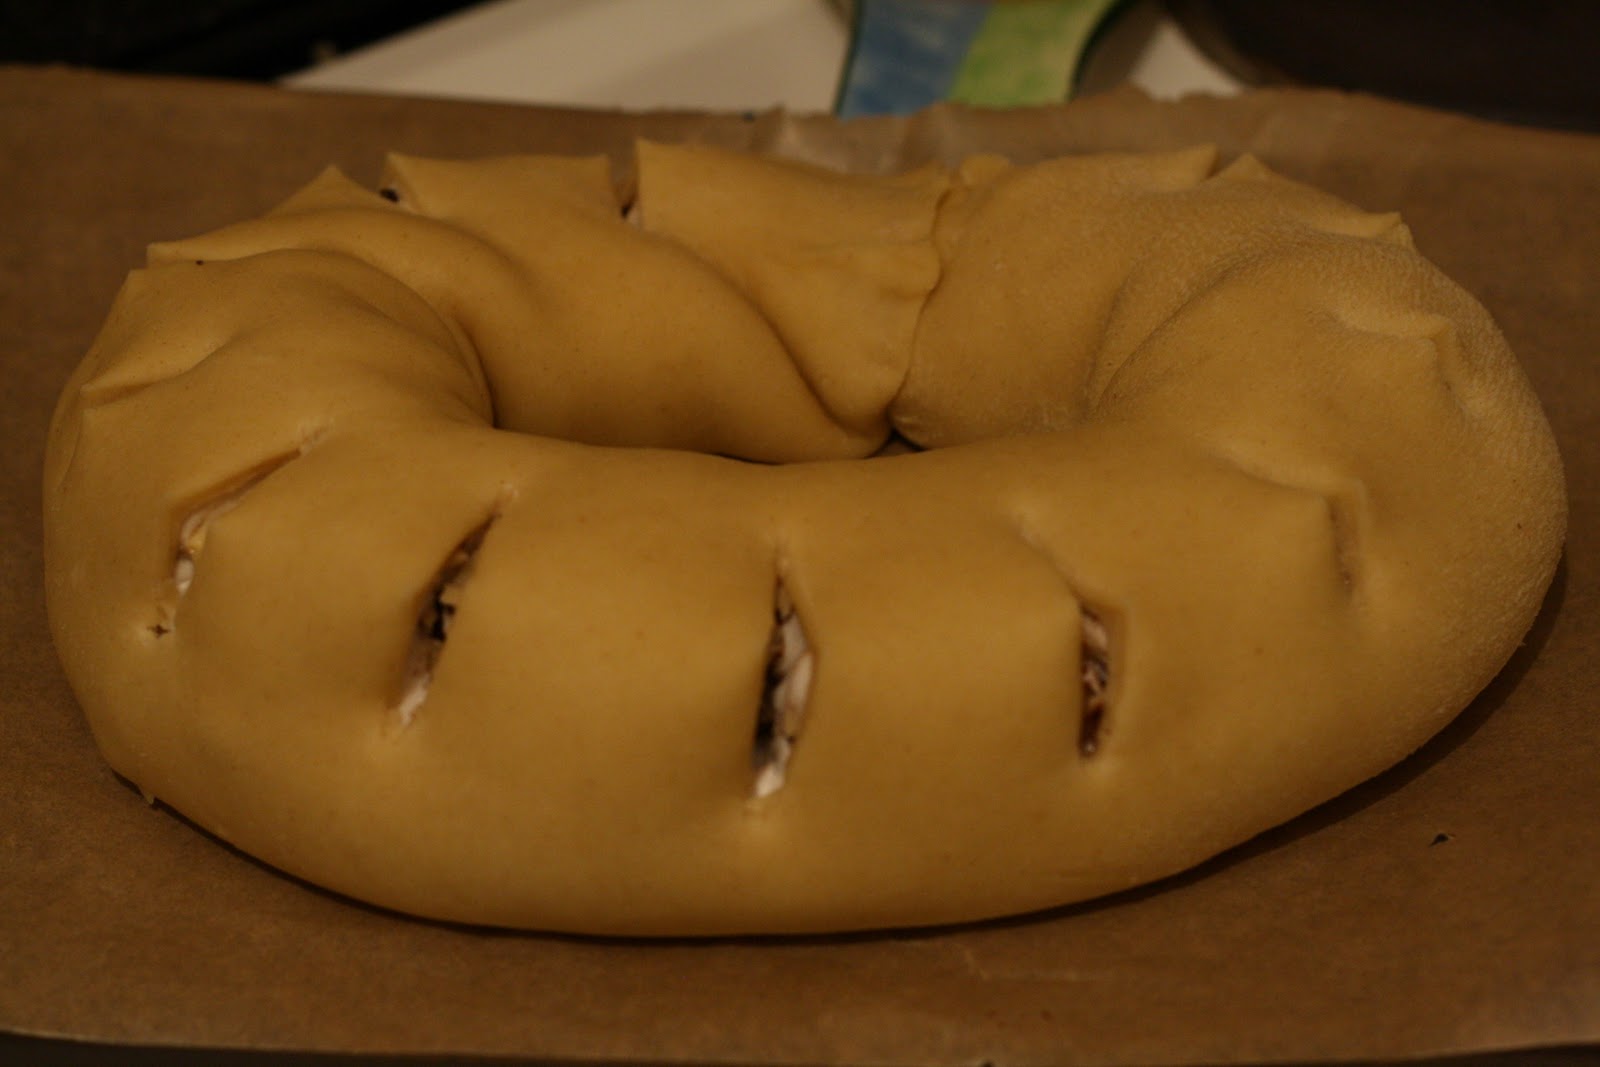
So the technical stuff. I made 2 each of chocolate and vanilla Madeira/sponge cakes. I split them all in half to get 8 layers. Then I made 2.5x Whisk Kid's (totally-unbelievably-awesome) Swiss Meringue Buttercream recipe, which just barely filled the layers and covered the cake. Then I covered it with sugar paste (or fondant, depending on which continent you live on) and added the detail. Oh - and I made rice krispie squares into wheels. Rice krispie circles into wheels? I ran out of time so I missed a number of details but it had to go to the party so I got as far as I could. Here's how it turned out:

The back view
I snuck it into the pub before all the party arrived so there was a bit of surprise when I brought it out. A's mom was delighted with it and she knew what it was, so my mission was accomplished. A few ladies actually started shouting 'Nee-naa! Nee-naa!' trying to sound like ambulances. It was great. But the hardest part of my evening was about to begin.

I know it looks really rough but I spent a lot of time on that cake. The bones of 2 days! So I wasn't at all prepared for when I was asked to cut it. I didn't even think about the fact that it was meant to be eaten in all the time I was putting it together. I felt blindsided. Seriously, I was near tears. All that work to disappear into people's bellies. But I did feel a little better when I saw how the inside looked:

I thought it looked pretty good.

And everyone loved it. Which was the most important part.

So did you put a lot of work into something only to despair at its short life-time?


Peace,

Jenn x

Monday, March 28, 2011

Yeasted Meringue Coffee Cake - Daring Bakers Challenge, March 2011

Man I've been offline for a while, eh? Sorry.

I got a new job a couple of weeks ago, which is great. I'm really enjoying it and it feels good to be doing chemistry again after my hiatus. I've also been out of town the last two weekends, so I've literally been going non-stop for the last 2 weeks. While I wasn't working I filled my days pretty well with cooking, baking, cleaning, exercising and blogging. Unfortunately, I'm barely keeping up with cooking, let alone everything else! This working thing ... I'm not so sure I like it so much :)


Anyway, this month's Daring Baker's challenge was fantastic. It was hosted by Jamie of Life's a Feast and Ria from Ria's Collection. The first time I read the challenge I knew it was going to be a good one. I love meringue but never thought of putting it into a loaf. It just melts into the bread and flavourings and is just ... well ... beautiful! I highly recommend it. I'll be making it again for sure!

Here's how I made it:

FILLED MERINGUE COFFEE CAKE


Ingredients
For the yeast coffee cake dough:
2 cups flour
1/8cup sugar
1/4 teaspoon salt
1/2 package active dried yeast
3/8 cup whole milk
1/8 cup water (doesn’t matter what temperature)
1/4 cup unsalted butter at room temperature
1 large egg at room temperature
1/2 tsp almond extract

For the meringue:
2 large egg whites at room temperature
1/8 teaspoon salt
1/4 teaspoon almond extract
1/4 cup sugar


Fillings
100g slivered almonds
100g dried apples
2 tbsp cinnamon
150g dark chocolate, chopped
In a large mixing bowl, combine 3/4 cups of the flour, the sugar, salt and yeast. In a saucepan, combine the milk, water and butter and heat over medium heat until warm and the butter is just melted. With an electric mixer on low speed, gradually add the warm liquid to the flour/yeast mixture, beating until well blended. Increase mixer speed to medium and beat 2 minutes. Add the egg and 1/2 cup flour and beat for 2 more minutes.
Using a wooden spoon, stir in enough of the remaining flour to make a dough that holds together. Turn out onto a floured surface (use any of the 3/4 cups of flour remaining) and knead the dough for 8 to 10 minutes until the dough is soft, smooth, sexy and elastic, keeping the work surface floured and adding extra flour as needed.
Place the dough in a lightly greased (I use vegetable oil) bowl, turning to coat all sides. Cover the bowl with plastic wrap and a kitchen towel and let rise until double in bulk, 45 – 60 minutes. The rising time will depend on the type of yeast you use.

Once the dough has doubled, make the meringue:
In a clean mixing bowl – ideally a plastic or metal bowl so the egg whites adhere to the side (they slip on glass) and you don’t end up with liquid remaining in the bottom – beat the egg whites with the salt, first on low speed for 30 seconds, then increase to high and continue beating until foamy and opaque. Add the almond extract then start adding the 1/4 cup sugar, a tablespoon at a time as you beat, until very stiff, glossy peaks form. Line 2 baking/cookie sheets with parchment paper.

Punch down the dough. On a lightly floured surface, roll out the dough into a 20 x 10-inch rectangle. Spread the meringue evenly over the rectangle up to about 1/2-inch (3/4 cm) from the edges.
Sprinkle your filling of choice evenly over the meringue. Roll up the dough jellyroll style, from the long side.
Pinch the seam closed to seal. Very carefully transfer the filled log to one of the lined cookie sheets, seam side down. Bring the ends of the log around and seal the ends together, forming a ring, tucking one end into the other and pinching to seal. Using kitchen scissors or a sharp knife (although scissors are easier), make cuts along the outside edge at 1-inch (2 ½ cm) intervals. Make them as shallow or as deep as desired but don’t be afraid to cut deep into the ring.
 Cover the coffee cake with plastic wrap and allow it to rise again for 45 to 60 minutes.
Oozing meringue. Yummmm!!!
 Preheat the oven to 350°F (180°C).
Brush the tops of the coffee cakes with the egg wash. Bake in the preheated oven for 25 to 30 minutes until risen and golden brown. The dough should sound hollow when tapped.
This was really delish. The dough was lovely and the flavour and texture of the meringue was really nice. I would probably leave out the apples and chocolate next time I make it as the almonds and cinnamon were the nicest bits.

 So next time you have company coming for tea, throw this together. You won't be disappointed!


Peace,

Jenn x

Sunday, March 13, 2011

Eating through the Six Nations #4: Ireland vs Wales (Welsh Rarebit and Corned Beef & Cabbage)

It was a mixed day of rugby. First Italy met France, which I wasn't really intending to watch as poor Italy are usually steam-rolled by the big French fellas. France has won every single meeting (except 1) of the two teams since Italy started playing in the tournament in 1997. Italy have walked away with the wooden spoon (lost every game in the 6 nations) more than once in the last few years, while France have won the entire tournament a few times. I had the game on while I was puttering around in the house and since I saw that the score was close with 10 minutes to go, I sat down and ended up biting my nails. Italy won. Pretty unreal. There's going to be some awesome partying in Italy tonight I bet :)

Ireland was not so lucky. Unfortunately Wales were the better team today. There was a very wrong call by a referee that arguably turned the game, but in my opinion the Welsh team were the better side today.

Anyway, on to the important stuff - food! I did a Welsh starter and dessert with an Irish main in the middle, so here we go :)

I started with Welsh Rarebit. My amazing Nana says its called rarebit because cheese was not very common during the war, which is why it was referred to as a 'rare-bit'. Not sure if that's true or not, but it makes sense to me :)

Welsh Rarebit (from Alton Brown)

2 tablespoons unsalted butter
2 tablespoons all-purpose flour
1 teaspoon Dijon mustard
1 teaspoon Worcestershire sauce
1/2 teaspoon salt
1/2 teaspoon freshly ground black pepper
1/2 cup porter beer
3/4 cup heavy cream
6 ounces (approximately 1 1/2 cups) shredded Cheddar
2 drops hot sauce
4 slices toasted rye bread

 In a medium pot over low heat, melt the butter and whisk in the flour. Cook, whisking constantly for 2 to 3 minutes, being careful not to brown the flour. Whisk in mustard, Worcestershire sauce, salt, and pepper until smooth. Add beer and whisk to combine. Pour in cream and whisk until well combined and smooth. Gradually add cheese, stirring constantly, until cheese melts and sauce is smooth; this will take 4 to 5 minutes. Add hot sauce. Pour over toast and serve immediately.
Verdict: It was lacking in flavour. I added a good few shakes of Tabasco and upped the Worcestershire and salt and it was still bland. Maybe this is what it was supposed to taste like, but we weren't mad about it and its not something I'll be trying again.

Now for the main course. I've seen corned beef in a tin at home, and it was never something I tried. Ew. When I got here I heard one of my favorite Irish brothers say that his favorite meal was corned beef and cabbage, which grossed me out a little. I thought there was only the nasty tinned version. Then I saw a chunk of corned beef in the butcher window and re-thunk it. And I wasn't grossed out anymore.

Corned beef is beef brisket brined in a salt solution. I asked the butcher what the story was and he said they marinate the piece of beef in a salt solution for 3-5 days before putting it in the display case.

Corned Beef and Cabbage (by Me)
Piece of (fresh) corned beef
Head of cabbage
Potatoes
 
This is cooked exactly the same way as bacon and cabbage. Cover the beef with water, bring to a boil, change the water and boil again. When the meat has boiled for ~1.5 hrs on the second boil, throw the sliced cabbage in and cook it with the beef.

Verdict: this was actually really tasty. The beef is nice and salty but not too much. And I love the salty-beefy-flavour that seeps into the cabbage. Its really good.

I have a lovely recipe for Welsh cakes that I made (they're more of a cookie) but its a proper and slightly long-winded recipe so I'll post it tomorrow.

Game result: Ireland 13-Wales 19.

So do you like canned meat? :)


Peace,

Jenn x

Friday, March 11, 2011

Homemade Coffee Creamer

I have been busy enjoying my homemade chai and its been delicious, but I am missing my other love: coffee. Like everything in life, I want flavour. Coffee is good on its own, but its great with some vanilla or cinnamon or something. I find flavour in coffee helps me not want to sweeten it.

These are frequently on my counter :D

Ireland is big on instant coffee and I don't mind it myself, but I really prefer the brewed version. I always bring back Tim Horton's coffee when I visit home (Tim Horton's coffee is a Canadian tradition) and I discovered a new love a couple of years ago: Highlander Grogg coffee. Its kind of got a butterscotch-y flavour to it. It was my birthday present from my mom last year (she knows me very well. Not everyone would be happy to receive a bag of coffee beans for their birthday but I did a happy-clap dance :)
See? Exclusively roasted just for me :) My mommy is the best.

I add 3 scoops of the Timmys to one scoop of the Grogg and its totally awesome. However I still need to add my milk and I saw a recipe for homemade coffee creamer I had to try. I really like the flavoured coffee creamers I've seen at home but they are so full of all kinds of artificial stuff, plus they're not available here, so I figured it was a good time to make my own.

French Vanilla Coffee Creamer (from Deliciously Organic)

1 cup whole milk
1 cup heavy cream
4 tablespoons maple syrup
1 vanilla bean


Whisk together milk, cream and maple syrup in a medium saucepan over medium heat. Cut vanilla bean in half, and scrape out seeds. Add seeds and vanilla bean to milk mixture. Turn off heat, cover the pot and steep for 30 minutes. After mixture has steeped, strain through a fine mesh sieve, pour into a glass bottle and store in the refrigerator. (If you don’t have a vanilla bean on hand, simply replace it with 1 tablespoon of vanilla extract)

 Look at all the yummy vanilla caviar! Yummmmmm!!!
It is delicious! Carrie has lots of different recipes on her site so you can find one that suits you. Next time I'll make it with just milk as it was a little rich for my taste, but its still really good in a nice cup of coffee.

So do you like coffee?


Peace,

Jenn x

Thursday, March 10, 2011

Walnut and Cherry Bars

I have a problem.

A little addiction.

It causes problems with my relationship, I spend too much time with it and it makes me spend money.

Its the Food Network Channel. I make us watch 'Ace of Cakes' when A would rather be watching football. I see nifty kitchen gadgets and I ... well ... need them. 

There is the occasional benefit of course. Like these bars. I saw Ellie Kreiger make them one day and thought they'd be a great healthy snack to have. Plus they use cherries, which are one of my all time favorite-ist flavours. 

I don't know if favorite-ist is a word, but it definitely has meaning. 

So back to the bars. 

These are really tasty and have enough 'sticking' power to keep you going until the next meal. And as Ellie says they're around 230 calories, which is within the recommended range for a snack (as part of a healthy diet). If you're into that kind of thing. I am sometimes. Mostly when I'm out of chocolate :)

Walnut and Dried Cherry Bars (by Ellie Kreiger)

1 cup quick-cooking oats 
3/4 cup whole-wheat pastry flour or regular whole-wheat flour
1/4 cup toasted wheat germ
1 teaspoon ground cinnamon 
1/4 teaspoon salt
1/2 cup honey 
1/3 cup unsweetened applesauce
1/4 cup canola oil 
1 egg, beaten to mix
1 egg white
3/4 cup chopped dried tart cherries (I used a 100g container)
1/2 cup finely chopped walnuts
Cooking spray
1/4 cup "fruit only" apricot preserves
 
Preheat oven to 350 degrees F. In a medium bowl, whisk together the oats, flour, wheat germ, cinnamon and salt. In another bowl, whisk together the honey, applesauce, oil, egg and egg white until well combined.
Stir in the oatmeal mixture until well combined.
This already smells great. Cinnamon is magical.
Add the dried cherries and walnuts. Coat an 8-inch square baking pan with cooking spray. Spread the mixture into the prepared pan and bake until a toothpick inserted in the center comes out
clean, 30 to 35 minutes. Put the preserves in a small saucepan and bring to a boil. As soon as the bars come out of the oven, brush with the preserves. Cool completely and cut into 12 bars, about 4 by1 1/2 inches each.
They are pretty good. Give them a go!

So what is one of your favorite-ist things to snack on?


Peace,

Jenn x

Wednesday, March 9, 2011

Breakfast for Dinner (Shrove Tuesday)

I love Shrove Tuesday. Or pancake Tuesday. Or fat Tuesday. Whatever you want to call it.

The purpose of Shrove Tuesday is to indulge in fats and sweet things (like nutella, butter, maple syrup and/or whipping cream) before Lent starts, which is a time of fasting, contemplative prayer and an opportunity to put things into practice that make you a better person. You don't have to give things up, you can take things up. Its not all about deprivation :) But it is all with the intention of bringing one closer to God.

Lent is a very important time to me so I like to get going with a bang: some awesome pancakes. Every year the same thing happens. I make pancakes for dinner and so enjoy them I wonder why I don't do breakfast for dinner more often. I normally make plain pancakes and top them with anything from peanut butter, nutella, syrup, bananas, cream, nuts, strawberries - which is a lot of fun (I do like playing with my food) but all the toppings can be pretty expensive and full of sugar. So I intentionally looked for a recipe that would incorporate the flavours into the pancake.

I saw the recipe for Lemon Cottage Cheese pancakes by twopeasandtheirpod on Tasty Kitchen. The recipe used skim milk, egg whites instead of the whole egg and light cottage cheese. The result was a really, really good pancake that didn't need any additional sweet stuff. I had it with fresh strawberries and a banana and it was fantastic. So I got my treats but didn't lose my head doing it. I will definintely be making breakfast for dinner more often :)


Lemon Cottage Cheese Pancakes (by twopeasandtheirpod)

1/2 cup whole wheat flour
1/4 cup all-purpose flour
3/4 teaspoon baking powder
1/4 teaspoon baking soda
1/4 teaspoon salt
1 1/2 Tablespoon sugar
Zest of 1 large lemon
2/3 cup skim milk
3/4 cup low fat cottage cheese
2 large egg whites
1 teaspoon vanilla extract
1 Tablespoon fresh lemon juice
Fresh strawberries

In a large bowl, whisk together the flours, baking powder, baking soda, and salt. In a small bowl, mix together the sugar and lemon zest with your fingers. This will bring out the lemon flavor. Add the sugar and lemon to the dry ingredients. Whisk again.

In a small bowl, add the milk, cottage cheese, egg whites, vanilla extract, and fresh lemon juice. Whisk until smooth. The cottage cheese will still be somewhat lumpy and that is ok. Add this mixture to the dry ingredients. Stir until combined. The batter will be a lumpy.

Heat a large nonstick skillet or griddle. When the pan is heated to medium spray well with cooking spray. Add about a 1/4 cup of batter to the pan. Cook for a couple of minutes. You want to see bubbles all over the pancake. Flip and cook the other side for a couple of minutes. Repeat until batter is gone. Make sure you spray the pan in between each pancake.

Serve pancakes hot with fresh strawberries. You can also use syrup and a little powdered sugar (I didn't think they needed it).

So do you like breakfast for dinner? And do you celebrate pancake Tuesday?


Peace,

Jenn x

Monday, March 7, 2011

Cures for fatigue (Wheatgrass juice and bruschetta)

So lately I've been a little tired. And had these ugly black bags under my eyes. Ok not lately, its been going on for months. Boo! I've tried lots of tricks - reducing coffee (I could try that a little harder), getting more sleep, drinking more water, reducing sugar, blah, blah blah. No joy.

I wandered into the local organic shop I found (no farmers market but an organic store. You win some ...) and saw signs for wheat grass juice. Harking back to my days when I managed an organic grocery department in a health store I remember learning that wheat grass juice is good for lotsa stuff. I figured I'd give it a go. Turns out they don't juice it onsite, but they freeze it in ice cube bags so you can get a bunch of servings to have throughout the week.
 
I just popped out a couple into a glass (they said that between 2-3 makes a shot. I used two) and waited for it to thaw out before downing it.

Yum. Well not really, but its not bad.


When I told the organic lady why I wanted it, she threw a bulb of organic garlic into my bag. For free! I love free stuff. Especially organic garlic. It was huge.
As big as a tomato! So I used a few cloves and made bruschetta. I know everyone has their own recipe but here's how I did it:


Bruschetta (By Jenn)

2 tomatoes
3 cloves garlic
1 tbsp olive oil
1 tsp balsamic vinegar
healthy shake of dried basil (fresh would be better but I was out), salt and a little pepper.

Dice the tomatoes, finely chop (or mince) the garlic and add it to a bowl with everything else. Stir it all up and leave to sit for a little while so the flavours can all get to know each other.
Put it on a slice of toasted bread and enjoy!
This was very garlicky, but I was doing research. It did help with my tiredness, but I oozed garlic smell for days. I had to wash my pj's twice. So I don't think this will be a permanent cure. I'll stick with the wheat grass and make bruschetta with a little less garlic in future.

I still love free stuff :)

So what do you do when you're feeling a little run down? And have you ever OD'd on garlic?


Peace,
Jenn x

Thursday, March 3, 2011

Oh-me-oh-my-oh-look-its-Chai!

Remember how I told you about my inherited interest in the British Royal family? When I was walking through town yesterday I saw this mug in a window:


I just couldn't pass it by. But I needed something fantastic to fill it with. Something I really, really liked, not your everyday coffee or tea.

I love chai. My mom and I used to buy a case of the Tazo concentrate and a case of soy milk and we both had one going to school or work every morning. I haven't been able to find it here outside of Starbucks, where it costs me €3-€4. Mental. And the closest one is a 2 hour drive away. When I saw the recipe on Tasty Kitchen it planted itself deeply in my brain and I started to obsess.So I figured that now I have a nice new cup that needs something special, I'd better give it a go. And I will never buy another one at Starbucks. This stuff is unbelievably amazing. Its so much better than any chai you'll buy out. And its super easy!


Amazing Spiced Chai Concentrate (from thecatnipcat) 
4-½ cups Water
1 stick Cinnamon
1 piece Fresh Ginger Chopped
7 whole Cardamom Pods
2 whole Star Anise Pods
10 whole Cloves
¼ teaspoons Freshly Ground Black Pepper
½ teaspoons Freshly-ground Nutmeg
1 teaspoon Orange Zest
10 teaspoons Green Or Black Tea Or 10 Tea Bags
⅔ cups Brown Sugar
1 Tablespoon Honey
1 Tablespoon Vanilla

Bring the water to a boil. Remove from heat and add everything but the brown sugar, honey and vanilla (I didn't read this part and I added everything in at once. Oops!). Leave to brew for 15-20 minutes.

 
Strain everything out and add the brown sugar, honey and vanilla (unless you added it already :D)

To serve, mix with equal parts milk and warm or serve over ice. In a special cup :)
Seriously, this stuff is awesome. I used organic unsweetened soya milk with it and it was the best chai I've ever had. If you like chai, you will love it. If you don't like chai, try it anyway. I'm sure you know a chai lover that would be delighted to take it off your hands in the extremely unlikely event that you don't like it :)

So tell me: do you like chai?


Peace,

Jenn x

Tuesday, March 1, 2011

Pâte Sucrée (Sweet Shortcrust Pastry)

I don't own many cookbooks. Maybe 15. And at least 3 of them are in Canada. I really prefer looking at recipes online and seeing people's reactions to them so I have some idea whether I'm making 'da bomb' or just 'a bomb'. And as libraries are pretty poor here, unfortunately borrowing them first isn't an option. So when I actually decide to buy a cookbook its a careful choice for me. There are a lot of boxes it needs to tick before I part with my cash. A few are 1) clear directions; 2) great pictures 3) good variety of recipes; 4) recipes that I will actually try; 5) recommended  by others (amazon is so good for that). Those are the first few things I look for.

I can't tell you where I first saw this book but it had some fantastic reviews. And looked pretty neat. It looked like a course, like it had lots of tips and was essentially a collection of lessons on how to prepare precise pastries. Looked like a good starting point for me. So I ordered it. And I'm really glad I did. I am finding it really useful and it has tutorials of many of the recipes. For each recipe there is a tips section at the end to give you a heads up on some potential problem areas, as well as a few notes on how to evaluate your success.

Although I've had the book for nearly a year, I hadn't tried a single recipe out of it. To be honest, I was a little intimidated. It all looks so precise and so snazzy and ... well ... a whole lot fancier than I was able to do. I'm not trained in the culinary arts for crying out loud! I just wanted to look at the pretty pictures and dream I could do it ...

But I joined Daring Bakers and I had a challenge. I had to make Florentines. There was a recipe for Florentines in my fancy-scary-amazing book. So I broke down the wall of fear and got into it. The recipe for the finished biscuit is here, so I'm just going to give you the Pâte Sucrée in this post.

Sound good?

Pâte Sucrée (from The Fundamental Techniques of Classic Pastry Arts)

Makes pastry for two 8- to 9-inch tarts

250 grams unsalted butter, at room temperature
125 grams confectioners' sugar
3 large eggs, at room temperature
500 grams cake flour
1/2 tsp baking powder


Place the butter and sugar in a bowl. Beat to just combine, then raise the speed and beat until the mixture is light and creamy.
 
Add the eggs one at a time, mixing well after each addition (do not add them too quickly or the mixture will separate. If separation occurs, continue the mixing until the mixture comes together. If it doesn't, add a spoonful of flour to encourage the process)

This is after adding the last egg. It looked like this after each addition.


 When the eggs are well incorporated, turn off the motor. Add the flour and baking powder all at once. Turn the machine on to slow speed, scraping down the sides of the bowl with a rubber spatula, beat until the flour is just incorporated, being careful not to overmix. 
Using the spatula, scrape the dough from the bowl. Gather the dough together and form it into a disk. Wrap the disk in plastic film and refrigerate it for at least 30 minutes of up to 1 week before rolling it into the shape required. The dough may also be wrapped and frozen for up to 3 months.

I rolled it out a quarter of this to make my Florentines and blind baked it.


To blind bake, dock the rolled dough with a fork. Line the dough with parchment paper and fill with dry rice or beans (I used pinto beans). Place it in a 400F oven and cook until it looks chalky-white. This helps the pastry retain its shape.


And there we go! Easy-peasy!

So what is your favorite thing to do with blind-baked pastry?


Peace,

Jenn x